Tuesday, August 10, 2010

Pretend Play: Wooden Post Office/Bank

Our next project was a wooden POST OFFICE / BANK. We actually finished this back in June, but I didn't have time to post it before we went on our month long vacation!

I wanted a piece that could be "multi-purpose", since we are quickly running out of room! I decided to modify Ana's Library from Grace's Town into this piece.
http://ana-white.com/2009/11/plan-library-base-for-graces-town.html

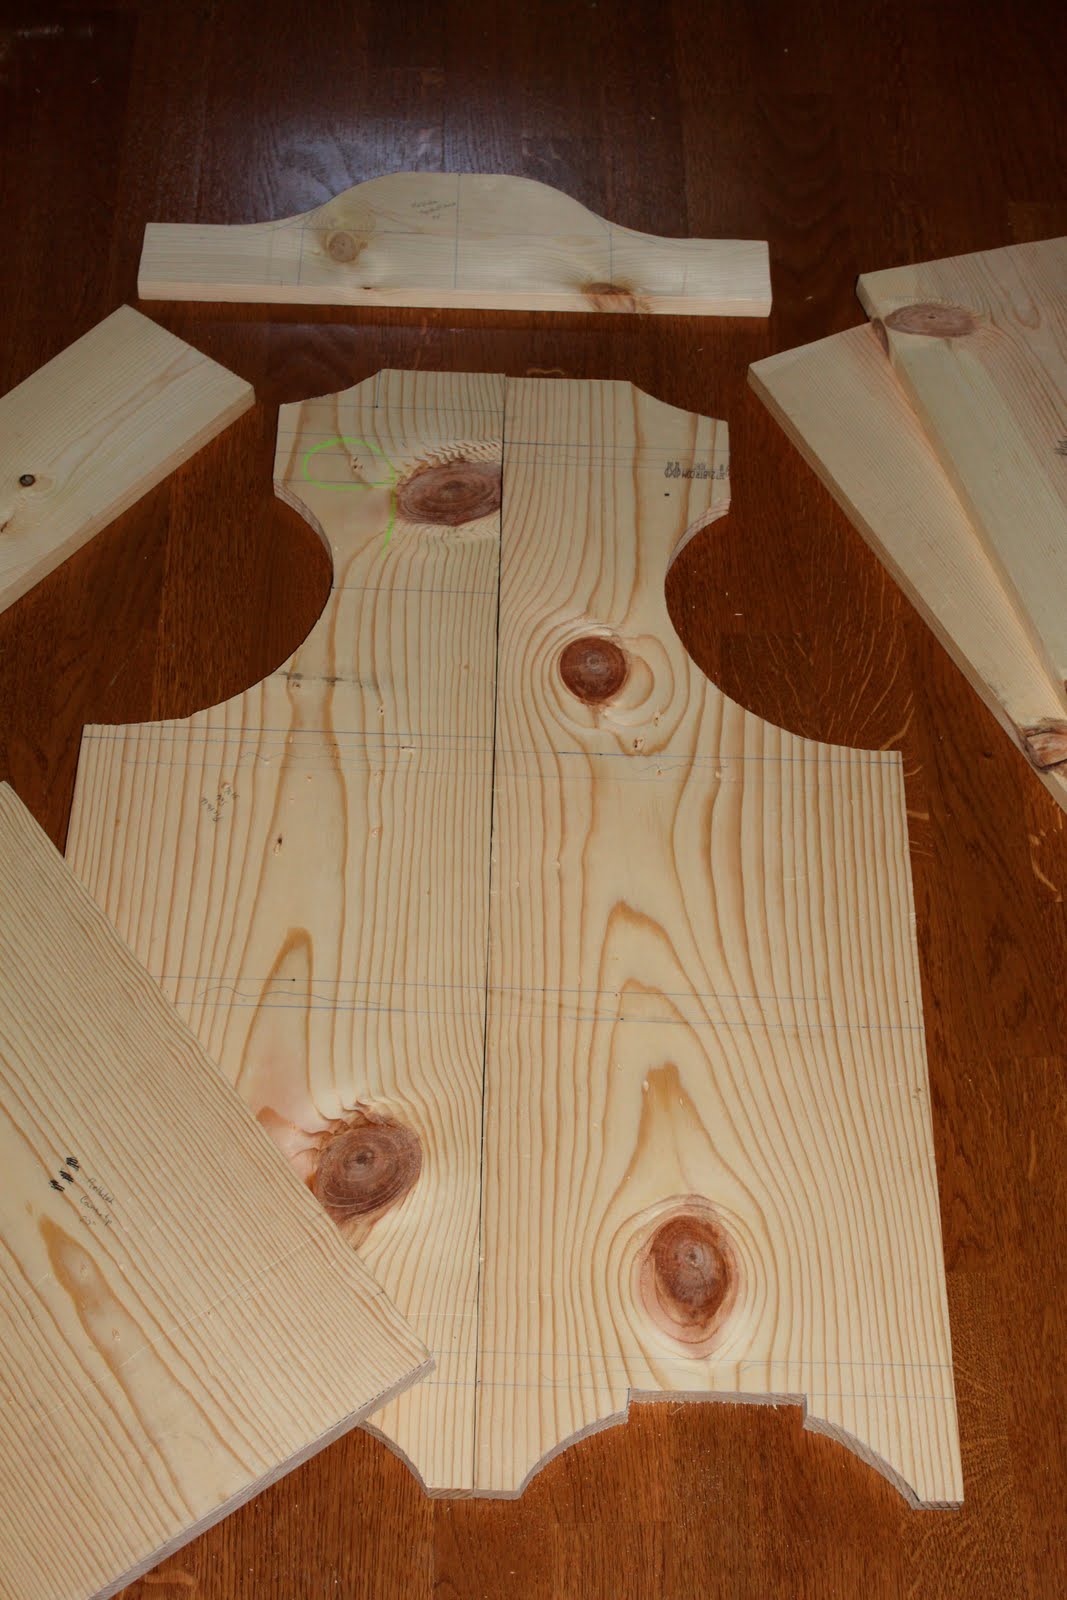
Here is the wood cut, ready to be assembled:

This is the basic "shelf unit" built, waiting for the "window" and "vertical dividers":

I built a basic "frame" for the plexiglas window, and then reinforced the inside with pieces of 1x2:

I found 18x24 plexiglas at Lowes, and attached it to the inside of the frame (after painting) with screws through the plexiglas:


With help from my husband (this window is BIG!), I attached the the frame to the base with metal "L" shape brackets and some "blocks" screwed together for stability:

I added vertical dividers to the shelves which makes it into a POST OFFICE. I also trimed out the front of each box with 1x2's to finish it off. At this point I painted the front white, and then stained the inside and countertop. I also added a flat wooden MDF panel to the front (not pictured, held on by mirror clips) so that the unit could be "converted" to a "BANK" by sliding the panel down the front and covering the "post office boxes":

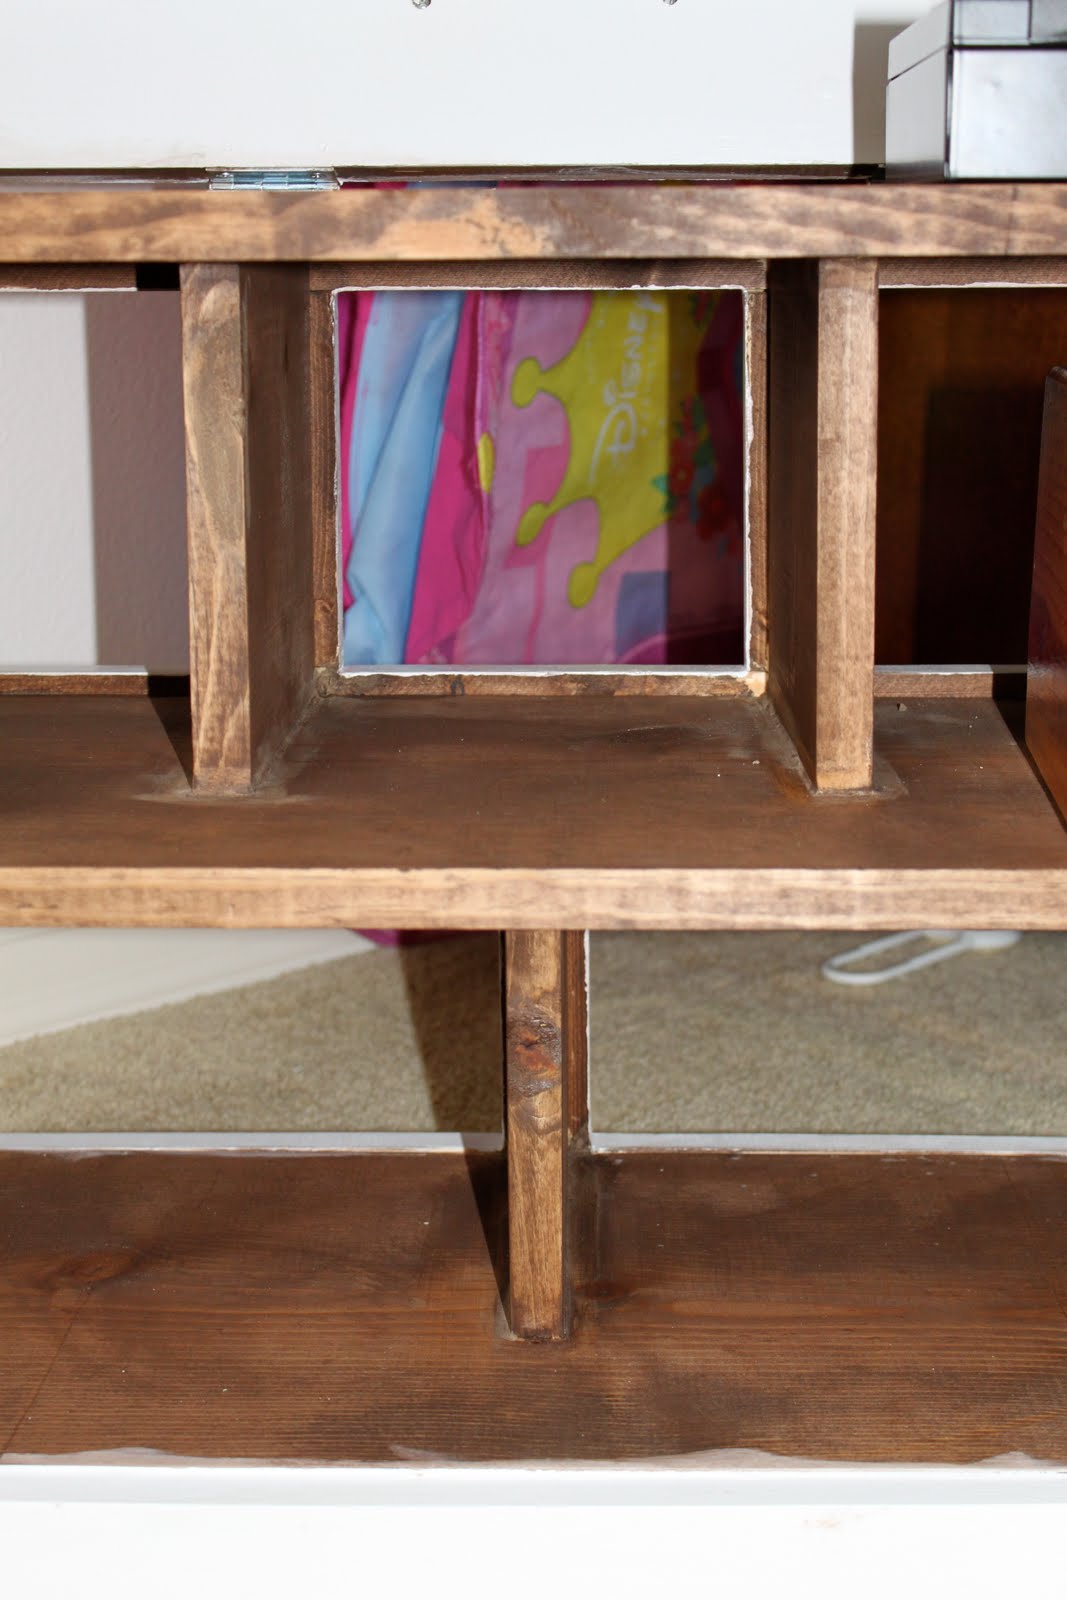
The front has a "drop" door. This can be used as a place to drop "mail" or "bank money"!:


I accessorized with business signs (from Lowes), my daughters' cash register, a "money box" from Target, and some junk "mail". I even had an old "post office box" (converted into a bank) from my childhood that she confiscated for play. She loves it!


***I am NOT LIABLE for any plans featured here. Please take every precaution and use your own discretion to make sure these toys are safe for children to play with them.

Thursday, June 17, 2010

Pretend Play: Wooden Pie Hutch


Once again, we depart on a journey of loving creation!!

I saw the newest kid's design on Ana's blog and knew that I HAD TO BUILD THIS!! We need more storage and "counter space" for my budding chef.

Simply gather your wood:

Overall this was a VERY easy build, but it was time consuming with the curved cuts that needed to be made and then sanded before finishing.


Once the curves were cut out and sanded, I had the piece nailed together within 10 minutes:


I made sure to fill all holes and knots with putty and sanded well before I painted it white.
(I use Behr Polar Bear in Semi Gloss.)

I then carefully painted the "back" pink. Looking back, this would have been A LOT EASIER if I would have painted the back FIRST, and THEN nailed it on! HELLO, DUH! I was having a moment of "I just need to get this done before we go on vacation..."! (I used Lowes Valspar Polka Pink in Satin.)


At this point, there was NO HOLDING HER BACK....my daughter wanted to play with this NOW! I turned the fan on and let it blow FULL BLAST on the piece during my daughter's nap. It dried surprisingly FAST. She helped me load it up and arrange all of her canned goods! (Yes, she LOVES these cans and we make more every "can" chance we get!)

***I am NOT LIABLE for any plans featured here. Please take every precaution and use your own discretion to make sure these toys are safe for children to play with them.

Muslin - Car "Town" Mat


When I was little, my cousin and I were REALLY into Micro Machines. They're these tiny little cars that came with cities and towns to put together. We couldn't afford the big play sets of our dreams, so my older and craftier cousin (think 10) came up with a way to have our cities but on a budget! She got out some poster board, markers, and a ruler and we set out on a journey of discovery and artistic license. We worked on that poster board for several hours, quickly ran out of space for our ideas, and moved on to a second poster board. I don't know what was more fun....designing the town or playing with it when we were done! My cousin was kind that summer. She let me take the "town" home with me, promising that she could make a better one for herself, although she never did.

Years later, I still have my Micro Machines. My daughter discovered them in a box in the closet. Now they are collector's items, no longer sold on the open market but in Ebay auctions and the like. I quickly drew a "town" onto paper for my daughter, and while she loved playing with it, it was easily destroyed in the mayhem. I then decided she needed her own town to play with, but I wanted to make it portable and more durable than the poster board town of my childhood.

Enter: Muslin, Sharpie markers, and Micro Machines

I made a list of all of the "places" I wanted the town to have: bank, hospital, police, fire, restaurants, houses, stores, schools, etc. I simply started with one building, measuring with a car for scale as I drew along. I included roads and parking spaces. My daughter would play on one corner of the completed town while I continued in another section.

MEDICAL BUILDING:
GAS STATION, MECHANIC:
SHOPPING CENTER:


NEIGHBORHOOD:
POLICE AND FIRE:
MALL AND THEATRE WITH LOTS OF PARKING:

When I ran out of room for my continuous list of ideas, I sewed on another piece of muslin, and then another. Now there is room for GROWTH!

It took several days, with a toddler's help, to finally finish. This mat is going with us for our summer plane trip. It will be a perfect distraction when we are sitting in the terminal between flights!

***I am NOT LIABLE for any plans featured here. Please take every precaution and use your own discretion to make sure these toys are safe for children to play with them.

Tuesday, May 11, 2010

Pretend Play: Faux Makeup


I was looking for some kind of "play makeup" that didn't require "actual" makeup...something that I wouldn't find LATER plastered to the couch or carpet. I stumbled upon this awesome website:
http://notsoidlehands.blogspot.com/2009/08/freecycle-friday-faux-makeup-for-your.html

Not only does she teach how to make "play makeup", but it is NEARLY FREE and uses recycled materials! WOW! I LOVE these kinds of projects!

The project is SIMPLE: you need some old nail polish, empty and CLEAN makeup cases (eye shadow or blush), and TIME!

I chose one case (originally eye shadows) to be used as a "lip gloss" case because that is what my daughter is fascinated with! I cleaned and dried it well so that the nail polish would adhere to the little trays.

I then selected several old nail polishes based on "lip gloss" colors, and then arranged them going from the darkest shade to the lightest shade. I even used a "clear" color on one tray to give it a clear gloss look. I slowly poured the polish into each tray, being careful not to overflow. (You will find that you have to go back later and add more polish on some of the trays because the polish tends to shrink as it dries.)

You will get some tiny bubbles on the surface of the paint. Some can be popped with a toothpick, but you will likely still have some bubbles left over.

This obviously STINKS TO HEAVEN when you finish! I highly recommend finding a level, protected surface somewhere outside where you can leave these trays for a week or so until they fully cure.

My daughter LOVES playing with hers, and I don't have to worry about stains, breakage, or "running out"!

UPDATE 11/2010:  Finished more play makeup for Christmas presents....


***I am NOT LIABLE for any plans featured here. Please take every precaution and use your own discretion to make sure these toys are safe for children to play with them.

Pretend Play: Wooden Salt & Pepper Shakers

I wanted to make my daughter some salt and pepper shakers because she can't seem to leave the REAL ONES alone! I stumbled upon this website:
She offers a GREAT tutorial on how to make these!

I gathered the supplies that she lists on her website, including the 2 wooden spools and 2 wooden dome caps:

My daughter chose green paint for the main color, so we proceeded to paint the spools green, and then paint the domes silver.

When the first coat of paint dried, I painted the spool edges with silver paint so that it would match the domes.

I then painted black dots on the dome caps: 3 dots for salt and 4 dots for pepper.

Next, I painted "S" and "P", one on each spool.

Then I used wood glue to secure the dome caps to each wooden spool, being careful to match the 3 hole top to the "S" spool. I then traced around each spool onto a piece of hard card stock, and cut the circles out.

I filled each spool with a few seed beads (about 15 each), and glued the card stock circles to the bottom of each spool. I later used some decoupage glue on the bottom of each spool to protect the paper.

And here are the finished shakers:

This was an easy project that I finished in about 1 hour....with toddler HELP! :) She is REALLY enjoying these, so they come "highly recommended"!


***I am NOT LIABLE for any plans featured here. Please take every precaution and use your own discretion to make sure these toys are safe for children to play with them.

Wednesday, April 14, 2010

18" Doll: Armoire

Project 4 of 5 is this doll armoire for 18" dolls:

Remember that PILE OF CUT WOOD???

There are LITERALLY no FREE plans on "how to build a doll armoire" on the internet! I've LOOKED! I was also shocked to discover that most "start" around $150 and can even sell for as much as $350 at major manufacturers!! WOW!

I first started with an "idea" of how I wanted the piece to look and function. I knew I wanted doll clothes hanging space, a space tall enough to stand my daughters' doll, and a space underneath for 2 storage bins. I then drew up a "REALLY rough sketch" to get an idea of how much wood I would need and what cuts I would have to make.
1.  After cutting the wood sides (1x12 pine) to 36" tall, and the bottom horizontal 1x2 and the bottom and middle horizontal shelves (1x12 pine) to 24" wide, I began to nail the unit together. 

2.  I measured the space the 1x2 took up on the bottom, and that is where I placed my bottom shelf, and nailed into place. 

3.  I then measured up from the bottom of the piece (not the bottom shelf or 1x2!) 14.25", and marked both sides.

4.   I nailed the middle horizontal shelf here, making sure that the BOTTOM of the shelf was on the marked line. (This allows 12" clearance underneath the shelf for two standard fabric bins, which measure about 11.25") 

5.  I then cut the Top at 25.5" (to allow it to sit on top of the two sides) and nailed into place. 

6.  Next I cut a piece of 1x12 to 12" and nailed vertically between the bottom and middle horizontal shelves, creating two cubbies for bins.

7.  I then used a 1x10 board (so that the "shelves" would be recessed into the armoire for future doors) and cut 2 pieces: 1@9" (horizontal shelf) and 1@21" (vertical support). I nailed the two pieces together FIRST, centering the shelf at 10" from the bottom of the vertical piece. 

8.  I then nailed the entire piece into the armoire, securing from the top, side, and bottom. I checked to make sure the doll would fit! (18" doll/about 21" inside armoire right side)

9.  I then added an MDF backing to the armoire. (I had the place the MDF "long ways" to make sure it fit!) Next, I primed and painted the entire piece, and let dry overnight between coats.

10.  Finally, I added closet rod holders from Depot and cut small round dowels to use as rods. (Dowels are necessary because doll hangers are SO SMALL!)

11.  Doors could be added, however I decided not to add doors at this moment in time - DOORS and TINY FINGERS don't mix!

12.  Fill all holes with wood putty, let dry, and sand well.

13.  Paint or stain as desired.

14.  When dry, accessorize!!
Please feel free to use these plans to build furniture, for sale or for pleasure, but please do not sell the PLANS as your "own".  Please also give credit to me and link back here!  I hope you enjoy them!!
***I am NOT LIABLE for any plans featured here. Please take every precaution and use your own discretion to make sure these toys are safe for children to play with them.