
I decided that a "sewing machine" HAD TO BE MADE....because my daughter won't leave mine alone! (She loves this little toy, and actually "pretends to sew".) I wanted to make it "multi-purpose" by being small enough for her doll to "use" but sturdy enough that she could enjoy playing with it as well. I wish that she could have one of the sewing machines for "kids", but she is still too young for "power tools"!

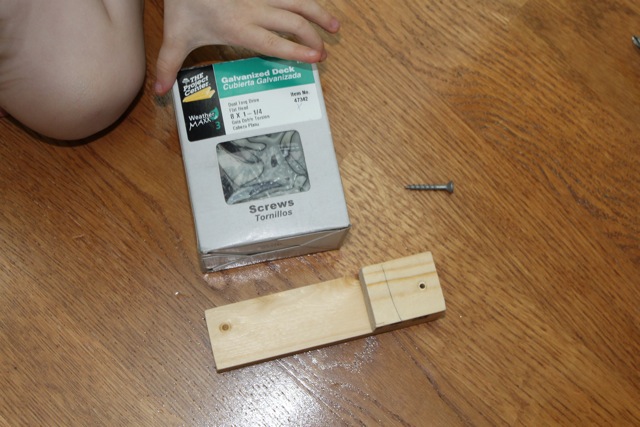
SHOPPING LIST: (You may have some of these pieces on-hand as SCRAP)
2x2 - 3" long
1x3 - 6" long (base)
1x2 - 5.75" long (arm)
1x2 - 1.75" long (arm extension)
1/4" dowel - (thread spool)
small spool of thread (mine is from a "travel" sewing kit)
small plastic cap (mine is from a cardboard milk carton) - about 1" wide (front knob)
medium plastic cap (mine is from a small vitamin bottle) - about 1.5" wide (side knob)
2.5" nail (I broke mine off of a "pack" of nails for my air nailer)
small metal picture hanger - (sewing machine "foot")
black marker in regular and FINE widths for writing
tape measure
small hand saw
drill
counter-sink bit
3/8" drill bit
wood glue
clamps
1.25" screw (1)
2" screws (4)
Smaller screws for knobs (about 3/4" to 1") (1/knob)
wood putty to fill holes and knots
Paint to finish your piece (white and silver)
INSTRUCTIONS:
1. Mark your sizes on your wood and cut out your pieces. (I always mark the wood with sizes AND where it is to be used (leg, side) so that I can move faster when building.
2. Sand your pieces (on the ends to be joined, at least, if not completely). You don't want to deal with edges that won't join cleanly and snugly.
3. Place your 2x2 on the 1x3, centering the 2x2 on the edge of the 1x3, and then flip over and screw through the bottom with 2 - 2" screws.


4. Take your 1x2x5.75" piece and use wood glue to secure your 1x2x1.75" piece on one end, and clamp until dry.


5. After 1x2's dry under clamps, remove clamps and pre-drill a hole using your counter sink bit. Then using 1.25" screws, screw through the bottom of the smaller 1x2 into the larger 1x2:
6. Place your nail through the picture hanger so that the nail point faces up. Hammer into the small 1x2, being sure to set off center and slightly to the right (remember that a screw is there):


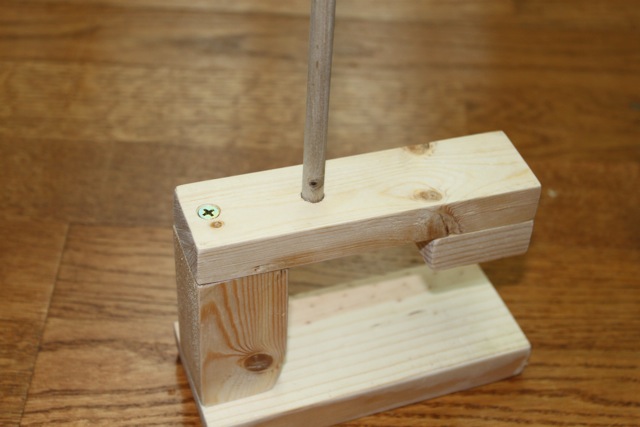
7. Place your completed 1x2 "arm" onto the 2x2 "post", and while holding securely, pre-drill 2 holes down through the 1x2 into the 2x2. Using 2" screws, screw through your pre-drilled holes to secure. (Yes, I know the steps look out of order because some things are already done in the picture....I'm just trying to make it easier for you!):

8. Once your sewing machine "arm" is secured, you can add your thread dowel. Using a 3/8" drill bit, make a hole about 2" in from the right front side of your sewing machine (my picture has the sewing machine backwards):

9. Place your dowel in the hole:
10. Place your thread onto the dowel, measure, and mark with a pen:

11. Remove dowel and cut to length you marked. Add wood glue to hole and around base of dowel and then place dowel back in hole to secure. (Make sure to wipe up any spilled or excess wood glue....once it dries, you can't paint it!):

12. Use wood putty to fill all holes, knots and gaps between pieces. Sand the entire piece well. Paint your ENTIRE piece with 2 coats of white paint, and allow to dry.
13. Decorate your knobs as desired:

14. When the white paint on your sewing machine has dried, place your knob on the front of your sewing machine (about 1.5" down from the top) and then pre-drill through the knob into the wood. Using a small screw (about 1" long), secure the knob to the 2x2 post:

14. Also place your larger knob on the side of the the 2x2 post, higher up than the knob on the front, and pre-drill through the knob into the wood. Using a smaller screw (about 3/4" long), secure the knob to the 2x2 post.

15. Go over your screw heads with a black marker to make sure they are all "uniform" in look:

16. Using silver paint (or a silver paint pen), make a "plate" for your "machine foot" to "rest on":

17. Add your machine markings using a black marker (you can use these or copy from your own machine):

18. As my daughter pointed out....Don't forget your REVERSE button!

19. Add your spool of thread to the dowel on top:

AND YOU ARE FINISHED!
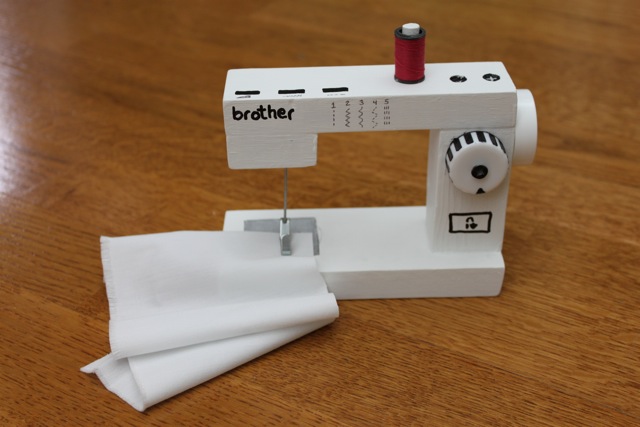

Don't forget to add some scraps of fabric to the mix....
Please feel free to use these plans to build furniture, for sale or for pleasure, but please do not sell the PLANS as your "own". Please also give credit to me and link back here! I hope you enjoy them!!
***I am NOT LIABLE for any plans featured here. Please take every precaution and use your own discretion to make sure these toys are safe for children to play with them.


