Wednesday, April 14, 2010

18" Doll: Armoire

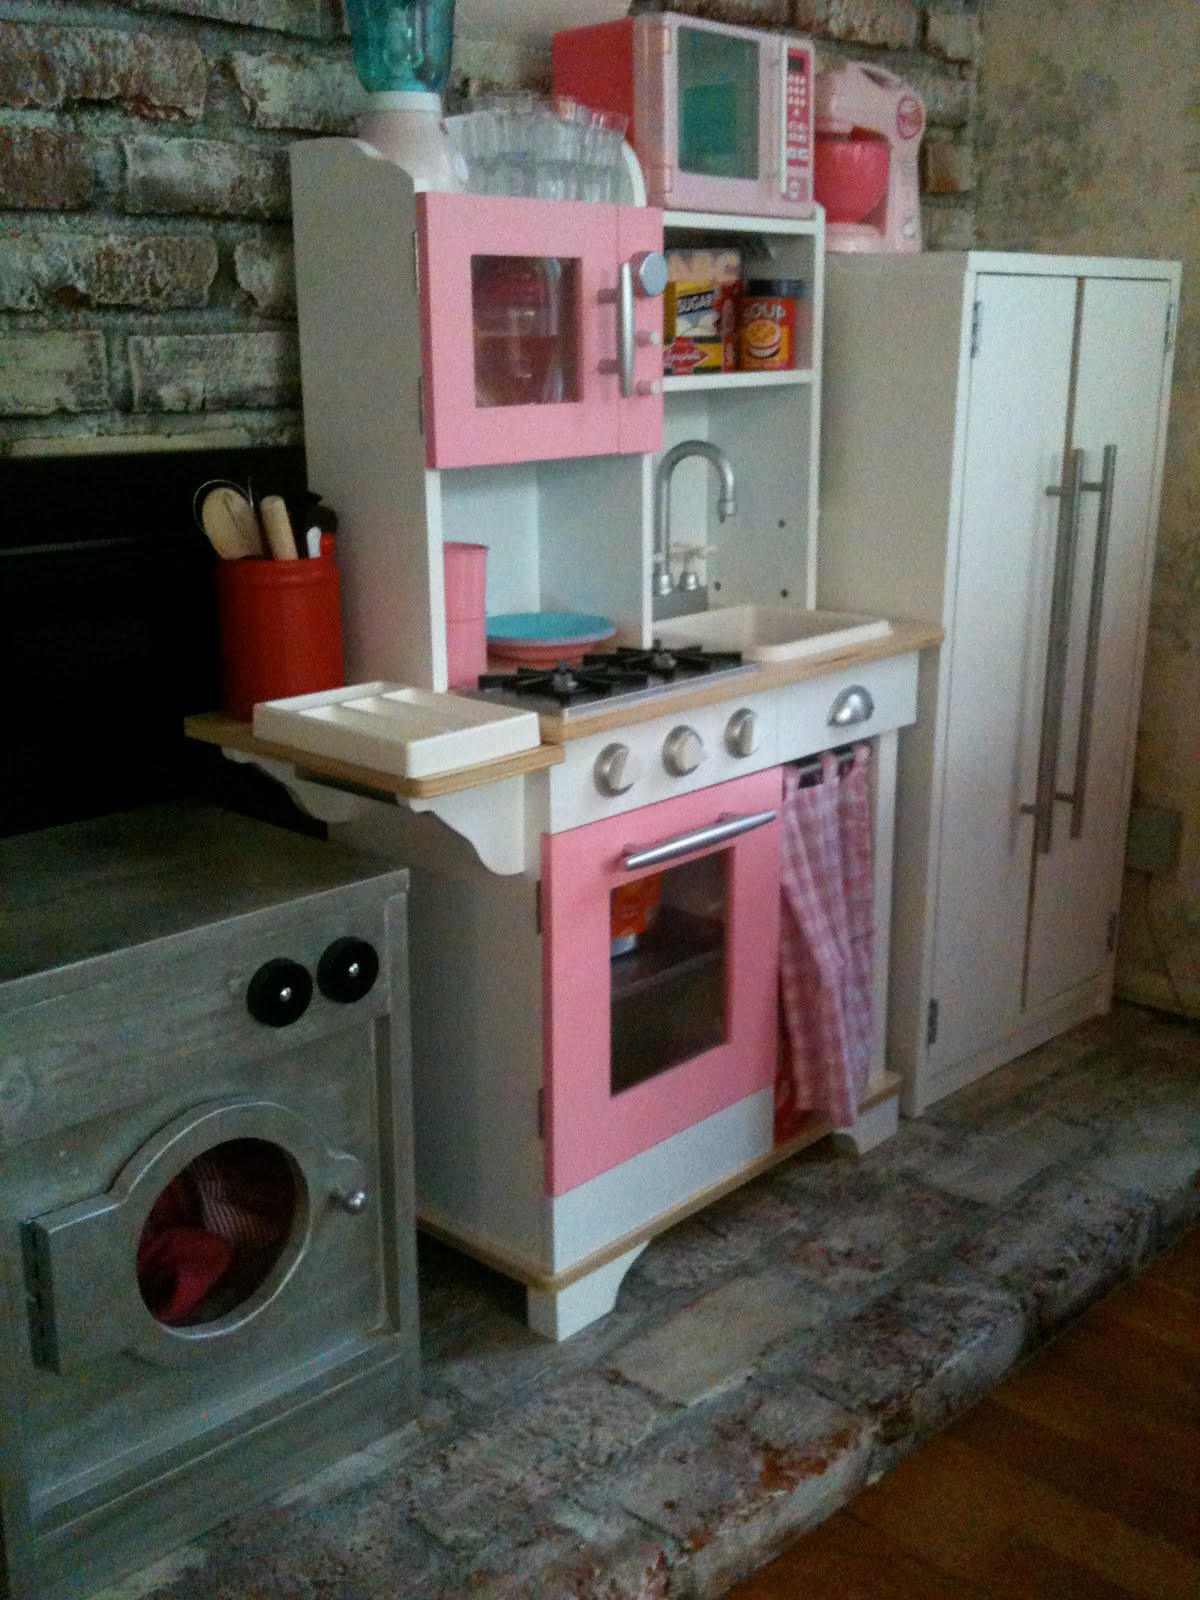
Project 4 of 5 is this doll armoire for 18" dolls:

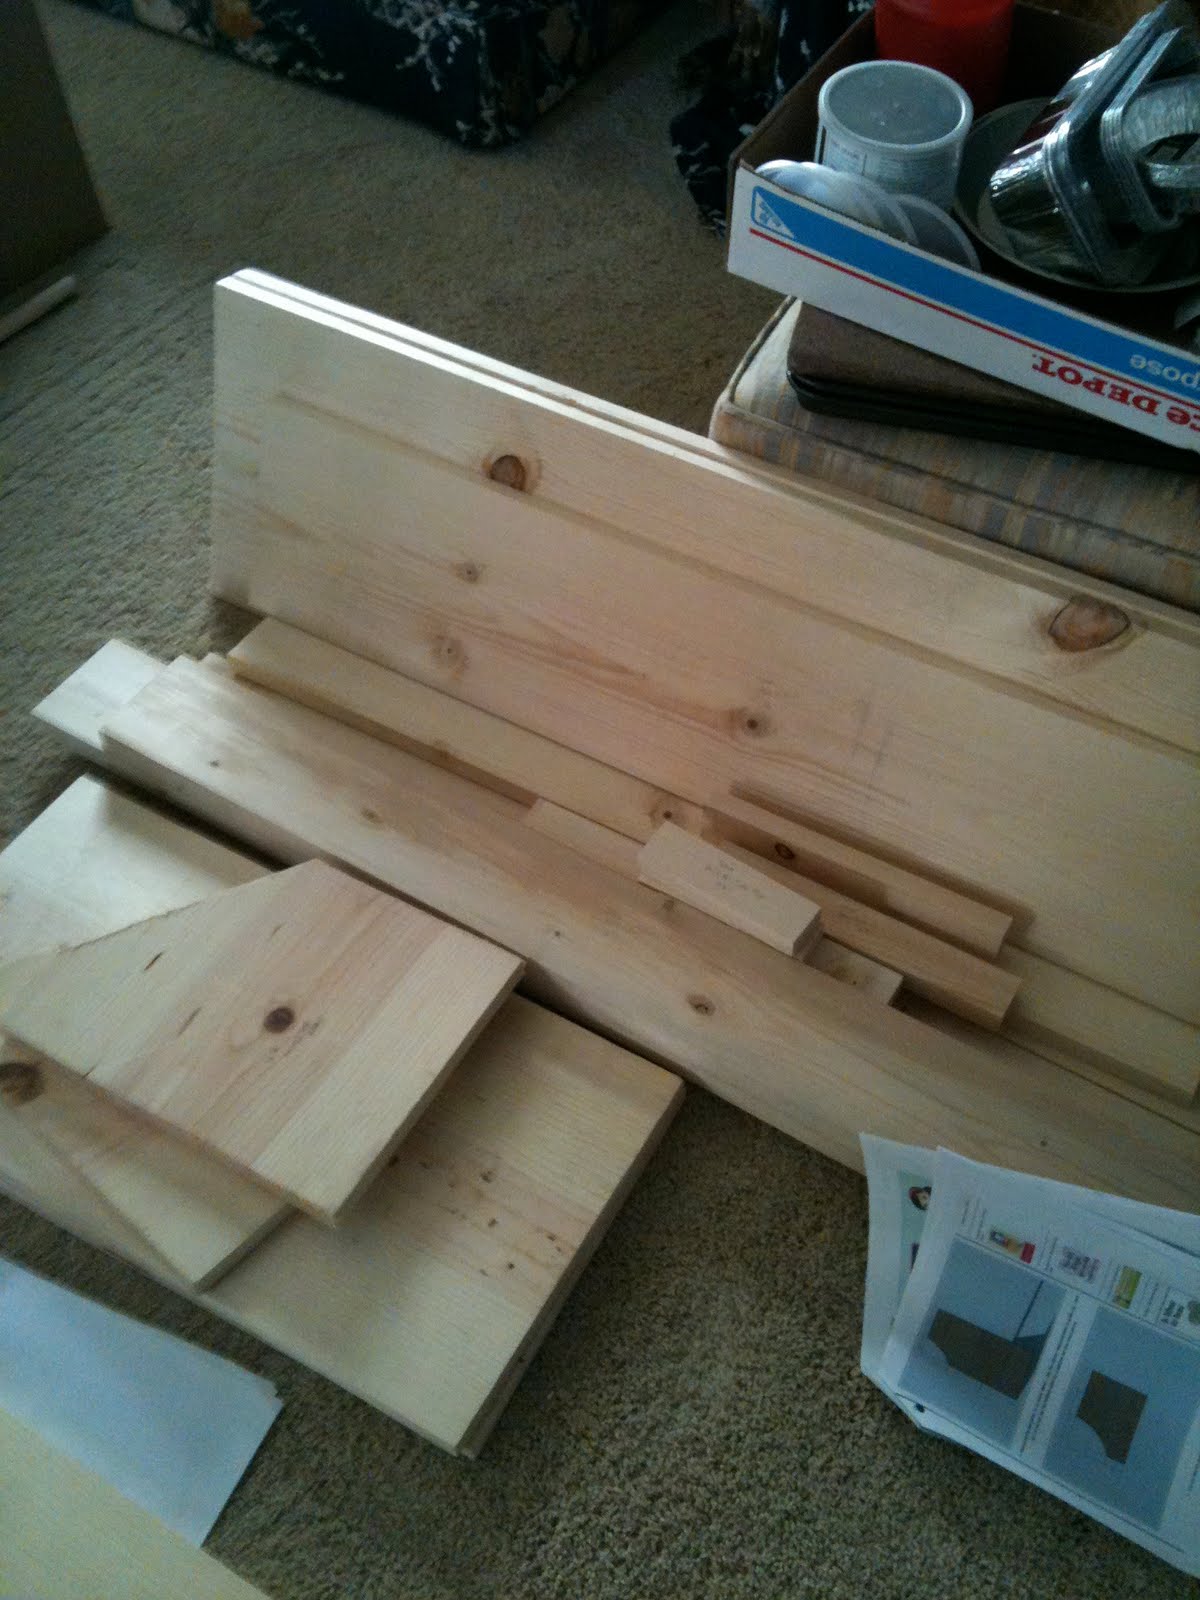
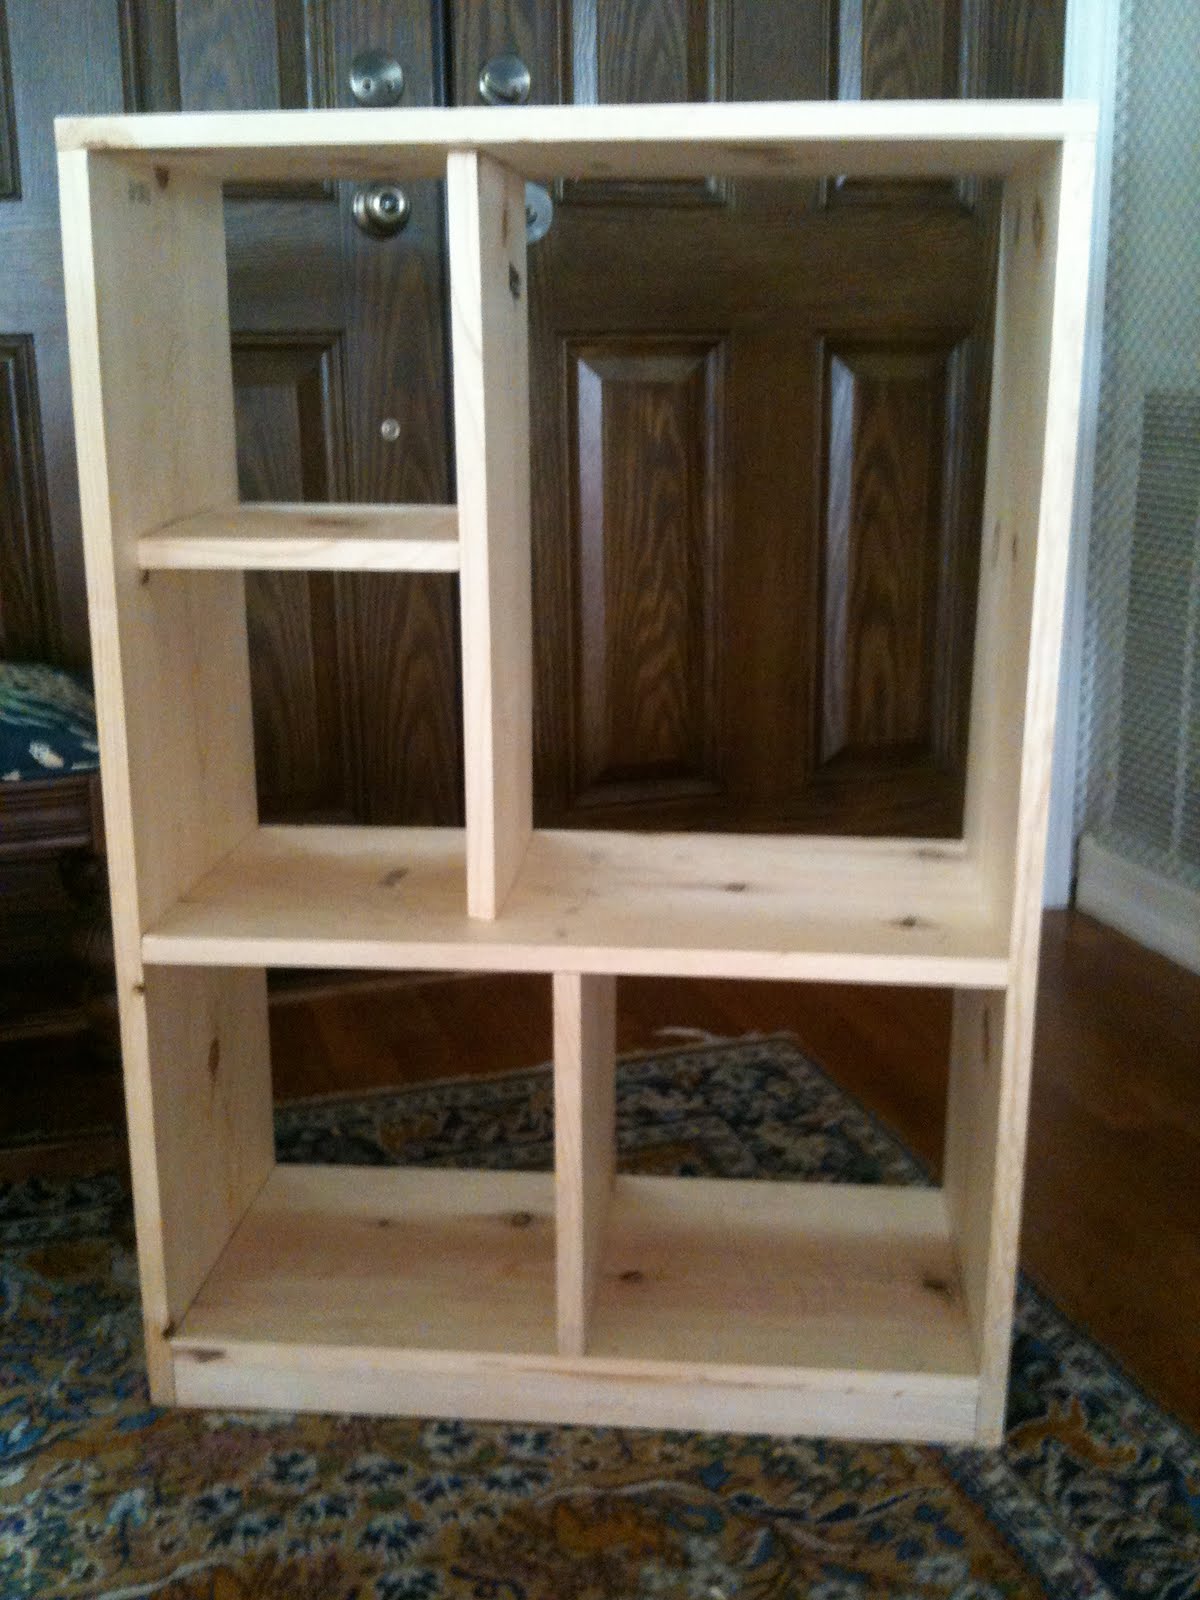
Remember that PILE OF CUT WOOD???

There are LITERALLY no FREE plans on "how to build a doll armoire" on the internet! I've LOOKED! I was also shocked to discover that most "start" around $150 and can even sell for as much as $350 at major manufacturers!! WOW!

I first started with an "idea" of how I wanted the piece to look and function. I knew I wanted doll clothes hanging space, a space tall enough to stand my daughters' doll, and a space underneath for 2 storage bins. I then drew up a "REALLY rough sketch" to get an idea of how much wood I would need and what cuts I would have to make.
1.  After cutting the wood sides (1x12 pine) to 36" tall, and the bottom horizontal 1x2 and the bottom and middle horizontal shelves (1x12 pine) to 24" wide, I began to nail the unit together. 

2.  I measured the space the 1x2 took up on the bottom, and that is where I placed my bottom shelf, and nailed into place. 

3.  I then measured up from the bottom of the piece (not the bottom shelf or 1x2!) 14.25", and marked both sides.

4.   I nailed the middle horizontal shelf here, making sure that the BOTTOM of the shelf was on the marked line. (This allows 12" clearance underneath the shelf for two standard fabric bins, which measure about 11.25") 

5.  I then cut the Top at 25.5" (to allow it to sit on top of the two sides) and nailed into place. 

6.  Next I cut a piece of 1x12 to 12" and nailed vertically between the bottom and middle horizontal shelves, creating two cubbies for bins.

7.  I then used a 1x10 board (so that the "shelves" would be recessed into the armoire for future doors) and cut 2 pieces: 1@9" (horizontal shelf) and 1@21" (vertical support). I nailed the two pieces together FIRST, centering the shelf at 10" from the bottom of the vertical piece. 

8.  I then nailed the entire piece into the armoire, securing from the top, side, and bottom. I checked to make sure the doll would fit! (18" doll/about 21" inside armoire right side)

9.  I then added an MDF backing to the armoire. (I had the place the MDF "long ways" to make sure it fit!) Next, I primed and painted the entire piece, and let dry overnight between coats.

10.  Finally, I added closet rod holders from Depot and cut small round dowels to use as rods. (Dowels are necessary because doll hangers are SO SMALL!)

11.  Doors could be added, however I decided not to add doors at this moment in time - DOORS and TINY FINGERS don't mix!

12.  Fill all holes with wood putty, let dry, and sand well.

13.  Paint or stain as desired.

14.  When dry, accessorize!!
Please feel free to use these plans to build furniture, for sale or for pleasure, but please do not sell the PLANS as your "own".  Please also give credit to me and link back here!  I hope you enjoy them!!
***I am NOT LIABLE for any plans featured here. Please take every precaution and use your own discretion to make sure these toys are safe for children to play with them.

18" Doll: Doll Bed

The 3rd of 5 projects is this doll bed!

Remember that pile of cut wood?

My daughter has very loving grandparents. 
They discovered that she loves looking at the American Girl catalog, 
and so they purchased an American Girl doll for her at her birthday! WOW!

I set out to make a "home" for her doll. 
My daughter is into the "mothering stage" where she copies everything I do: 
cooking, cleaning, putting babies to bed...

I scoured the internet for doll bed plans, 
and FINALLY found one that I thought could work for me: http://sheilareinke.wordpress.com/2008/07/23/making-doll-beds/

I changed several of the dimensions and added some features to make it my own. 
Mostly I used this "plan" as a guide of where to start. 
I used her 4 "legs" for size, but everything else was changed.

SHOPPING LIST:

2x2:    2 @ 16.5" Headboard legs
2x2:    2 @ 6.5" Footboard legs
1x2:    2 @ 21"  Side Rails
1x2:    2 @ 10"  End Rails
1x3:    1 @ 14.75"  Headboard top rail
square dowel scrap
MDF:  24" x 12.75" Bed platform (with 2 -2x2- notches out of headboard end for legs)
MDF:  10"x7"  Headboard

This is the view of the notched MDF bed platform at the headboard end. (Remember: this picture also shows the square dowel glued to the 2x2 post to hold on the headboard!) The notching comes first, before the square headboard dowels. I simply stood the 2x2 board in the corner of the MDF where I wanted the leg to "pass through" on the headboard end, and drew around two sides of the 2x2. This created a square "notch" that I cut with a small handsaw. Then I checked to see if the 2x2 would fit into the opening....PERFECT!

I nailed the short 6.5" legs onto the corners of the bed platform first. Then I added the short end brace between those two legs, nailing down through the bed platform into the brace. Next I nailed on the side braces, nailing again down through the bed platform. Then I lined up the 16.5" legs at each corner of the headboard end (in their respective notches), and nailed these into the long side braces to hold them in place. Next, I nailed the short headboard end brace between the headboard legs, nailing down through the bed platform and also through the legs themselves.
This is the underside view of the legs and braces (at the headboard end).
The headboard is also scrap MDF measuring 10" x 7". I placed tiny wood (10" long) SQUARE dowels flush with the front of the 2x2 16.5" legs and glued into place. This holds the headboard into place from the front. I then glued and clamped the headboard MDF onto these dowels, and added 2 more wood dowels from the back, sandwiching the MDF between.


Backside of headboard showing square dowels holding headboard into place.
The top rail is a 1x3 measuring 14.75" long, and is centered and flush with the back of the 2x2 16.5" posts. The top rail was the last piece to be nailed onto the bed, nailing ONLY at either end DIRECTLY over each 2x2 post.


A tutorial on how to make the mattress, pillow and sheets can be found here:


You can see the doll bed as built by another reader, Noni, on her blog here:
She has built both Ana White's doll bed and My doll bed!  Nice job!


Please feel free to use these plans to build furniture, for sale or for pleasure, but please do not sell the PLANS as your "own".  Please also give credit to me and link back here!  I hope you enjoy them!!
***I am NOT LIABLE for any plans featured here. Please take every precaution and use your own discretion to make sure these toys are safe for children to play with them.

Pretend Play: Recycled "Play Food" from Cans

I have a hard time with HOW MUCH kids toys cost! I can't believe that the manufacturers and retailers want $20-$50 (or more!) for wood play food sets! I have received some wood play food for my daughter as gifts, but I can't stomach paying for more!

While I used the decoupage to glue food pictures to the inside of my daughter's refrigerator, something dawned on me. Why not decoupage labels onto clean cans of food after I had opened them and used the contents? I'm sure someone else has thought of this before, but I was excited anyway! I set out to see if this would work...

Once I had decided to use a can of food for dinner (don't take the label off unless you are sure to use it :) ), I used my scissors to slice the label along the seam. The label is usually glued along the seam, so carefully pick at it until it gets loose. (Remove the label BEFORE opening the can so that the can contents don't accidentally soil the label.)
Then I opened the can, making sure to go COMPLETELY AROUND the can rim with the can opener so that the lid comes off cleanly. If there are any metal "burrs" left, you can either bend these flat with a pair of pliers or sand off with a metal file.


Next, clean the can inside and outside thoroughly with soap and hot water. Make sure to dry the can well. Now place the clean can with the "opened top" facing down on a level surface. (The "bottom" of the can will now be the "top". I am using completed cans in the pictures, so don't wonder why they have labels. :) )

Now apply decoupage onto the can surface where the label rests (not the top, just the sides and rim). Also apply decoupage to the label edge to get started. MAKE SURE THAT THE BOTTOM "SEALED" PART OF THE CAN IS NOW THE TOP AND THAT THE LABEL IS FACING UP BEFORE YOU GLUE! (This will give the illusion that the can is still intact and unopened!)


Place the label edge on the can and press into place, adding decoupage to the label a little at a time and pressing firm as you go.

Once the label is glued on, cover the entire surface of the label with more decoupage and press out all bubbles. Once the label is secured, allow to air dry overnight or use a hairdryer to speed dry!
You are now ready to make LOTS of FREE PLAY FOOD for your play kitchen or grocery store!
My daughter loves stacking them and using her cash register to "buy" the food! Lots of FREE FUN!

I am NOT LIABLE for any plans posted here...use your own discretion with kids and glue, sharp edges, and things that may go in their mouths!

***I am NOT LIABLE for any plans featured here. Please take every precaution and use your own discretion to make sure these toys are safe for children to play with them.

Pretend Play: Wooden Grocery Store

My next project was a Grocery Store directly from Ana:

Remember that pile of wood? This was one of the 5 projects that I had planned for! I wanted a place to store several play food items, so why not make a place for my daughter to play as well?

Getting the frame together was a TRUE BEAST! It wasn't that the project was hard, it was just that the unit is VERY HEAVY and hard to turn back and forth. (I don't worry about this unit falling on my daughter - WAY TOO HEAVY!! :) )

I primed and painted the unit, although I only managed 1 coat of paint before my daughter was jumping UP AND DOWN to play with her grocery store!

Here is the grocery store next to the other pieces we have built so far:

We use the grocery store base as a place to play store (cash register and food), as well as a place to store all of her play food (bins) and dishes (shelves). My toddler LOVES it!

***I am NOT LIABLE for any plans featured here. Please take every precaution and use your own discretion to make sure these toys are safe for children to play with them.

Pretend Play: Wooden "Dishwasher"

Our next project was TRULY INSPIRED! I have a HARD TIME keeping my daughter OUT of our dishwasher! She loves to "help", but often ends up trying to sit on the door while it is open!! Argh!

I decided that maybe if she had a dishwasher of her own, she might leave the real one alone while I did dishes. Besides...she would also have some "extra storage" for the multitude of play dishes that seem to have reproduced overnight!

I decided to "re-use" Ana's plan for the washing machine http://ana-white.com/2009/12/plans-toy-washing-machine.html but with a few modifications. (Ana didn't have a plan for a dishwasher, so I needed to come up with my own plan.)

I started out with a VERY LARGE purchase of wood! I wanted to make 5 different projects, so I took the time to plan out the wood I needed to purchase and made ONE BIG trip to Depot! This is what 5 projects worth of wood look like, cut and ready to go:


Next, I nailed together the "basic frame" for the kids washing machine. I didn't cut a hole in the inner door frame as called out for the washing machine, however. I wanted to be able to use that piece of wood as the dishwasher door. (This also means that I didn't need the washing machine door OR the piece of acrylic called for in the original plan.)

Then, I made sure to prime the piece VERY WELL, and paint with 2 coats of white paint. I also painted the dishwasher door separately. I then installed hinges to the door, and added the door to the piece so that it would open "downward". I also added a handle to the door and knobs to the front face. The knobs were vitamin bottle caps (black) and soda/water bottle caps (colors).

Because I used the same plan as the kids washing machine, the dishwasher and washing machine were the same size footprint and fit well on top of each other!

NOTE: Please add a screw to the inside of the dishwasher and to the inside of the door, and connect the screws with a string. This will help prevent TOES from being banged if the door falls open quickly.

I was right...the toddler loves her dishwasher, and promptly filled it with anything that wasn't nailed down! It cost me about $20 to make this project! Money well spent for a piece of "sanity"!


Please feel free to use these plans to build furniture, for sale or for pleasure, but please do not sell the PLANS as your "own".  Please also give credit to me and link back here!  I hope you enjoy them!!


***I am NOT LIABLE for any plans featured here. Please take every precaution and use your own discretion to make sure these toys are safe for children to play with them.

Tuesday, April 13, 2010

Pretend Play: Wooden Washing Machine

Once again, this project is from Ana (at http://ana-white.com/2009/12/plans-toy-washing-machine.html). I asked her for a plan for a kids' wooden washing machine.

Wooden washing machine toys can be found online at places like Amazon for around $200-$300! I couldn't pay THAT, so I wanted to BUILD it myself. It cost me about $20 to make, and my daughter LOVES IT!!!

First, I managed to get all of the main frame together according to Ana's plans. This plan was SO EASY!!

Then, my husband cut out the round hole in the center of the "door frame" with his Dremel router. (He did this for me because we have a toddler that likes to "help"!) I also nailed that door frame and top into place.

I chose Rustoleum Metallic Spray paint in Titanium Silver. Make sure to PRIME ALL PIECES first before you spray paint.....the wood just EATS up the paint!! Allow to dry outside overnight because the fumes will be STRONG!

My husband also used his Dremel router to make the door. He helped me to attach it with hinges after the unit was painted. We also attached a scrap piece of acrylic to the back of the washer door with screws. I then added two vitamin bottle caps to the front for control knobs, and a cabinet pull to the washer door for a handle.

My daughter then stuffed it full of her clothes.... :)

Here's the finished piece with the kitchen and fridge!
***I am NOT LIABLE for any plans featured here. Please take every precaution and use your own discretion to make sure these toys are safe for children to play with them.