

While I used the decoupage to glue food pictures to the inside of my daughter's refrigerator, something dawned on me. Why not decoupage labels onto clean cans of food after I had opened them and used the contents? I'm sure someone else has thought of this before, but I was excited anyway! I set out to see if this would work...
Once I had decided to use a can of food for dinner (don't take the label off unless you are sure to use it :) ), I used my scissors to slice the label along the seam. The label is usually glued along the seam, so carefully pick at it until it gets loose. (Remove the label BEFORE opening the can so that the can contents don't accidentally soil the label.)
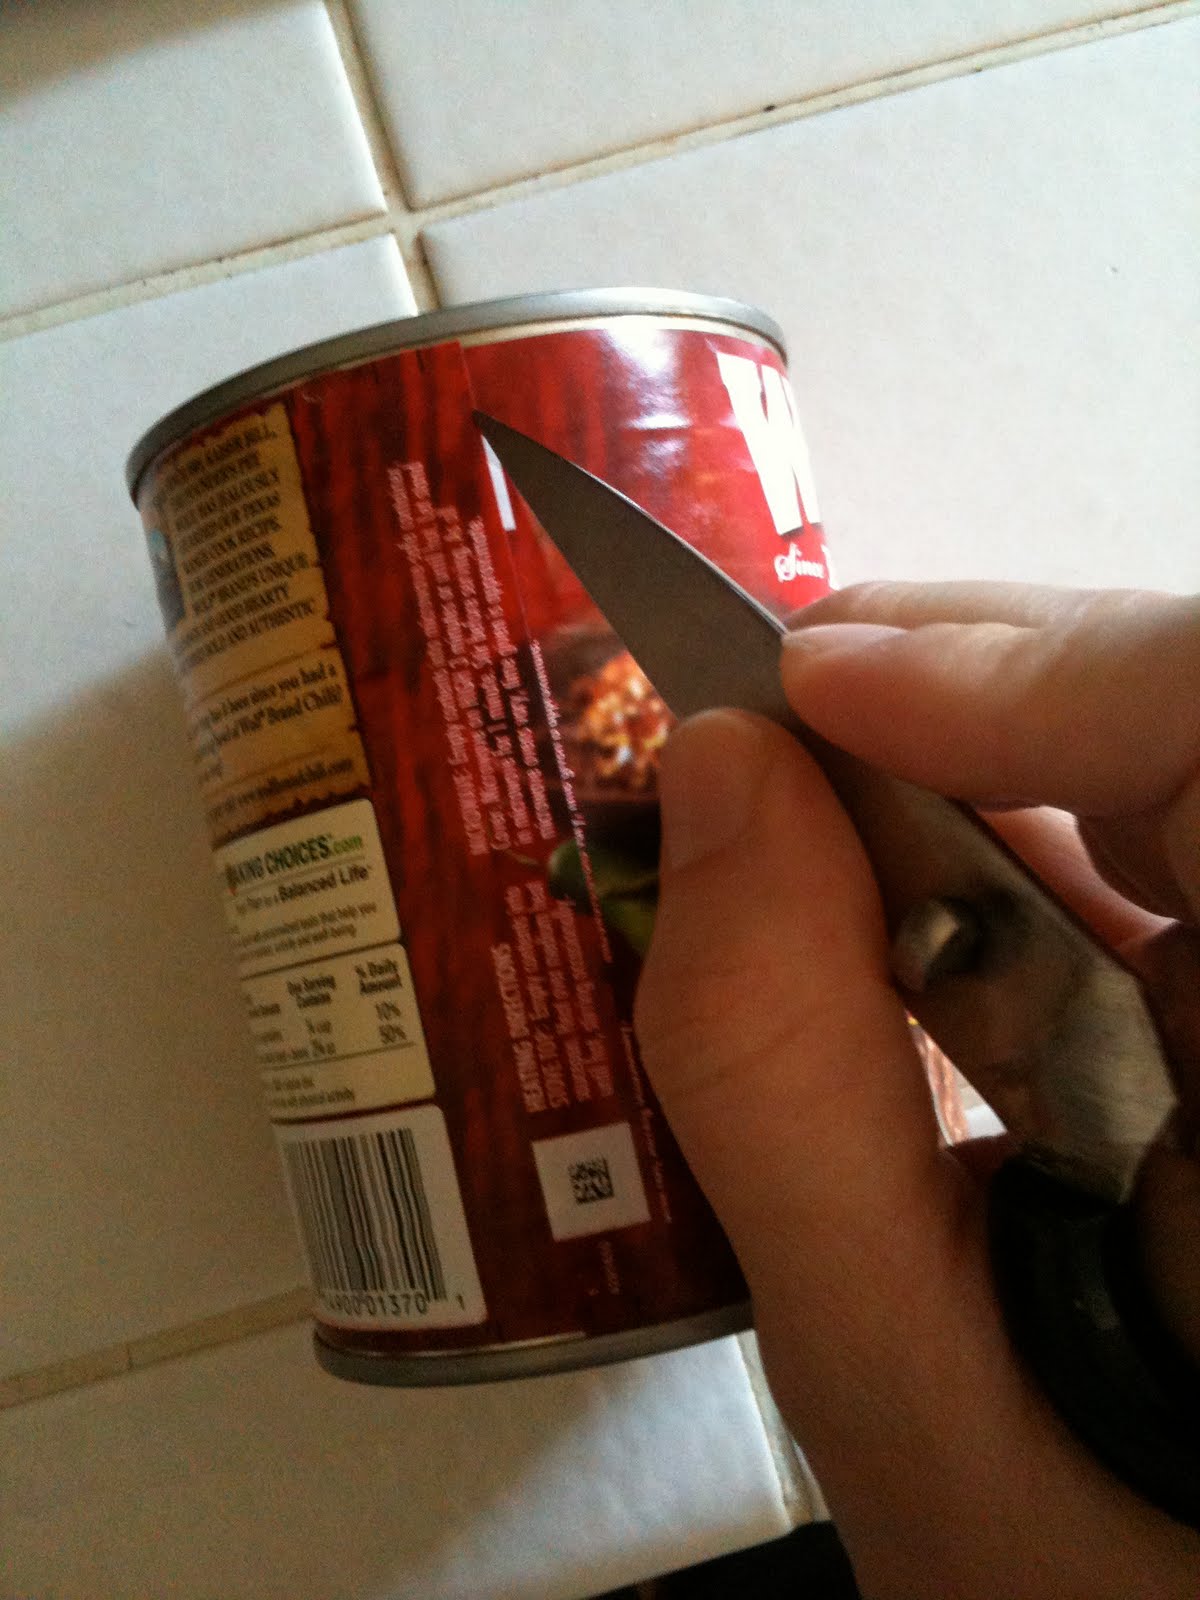
Then I opened the can, making sure to go COMPLETELY AROUND the can rim with the can opener so that the lid comes off cleanly. If there are any metal "burrs" left, you can either bend these flat with a pair of pliers or sand off with a metal file.


Next, clean the can inside and outside thoroughly with soap and hot water. Make sure to dry the can well. Now place the clean can with the "opened top" facing down on a level surface. (The "bottom" of the can will now be the "top". I am using completed cans in the pictures, so don't wonder why they have labels. :) )


Now apply decoupage onto the can surface where the label rests (not the top, just the sides and rim). Also apply decoupage to the label edge to get started. MAKE SURE THAT THE BOTTOM "SEALED" PART OF THE CAN IS NOW THE TOP AND THAT THE LABEL IS FACING UP BEFORE YOU GLUE! (This will give the illusion that the can is still intact and unopened!)


Place the label edge on the can and press into place, adding decoupage to the label a little at a time and pressing firm as you go.

Once the label is glued on, cover the entire surface of the label with more decoupage and press out all bubbles. Once the label is secured, allow to air dry overnight or use a hairdryer to speed dry!

You are now ready to make LOTS of FREE PLAY FOOD for your play kitchen or grocery store!
My daughter loves stacking them and using her cash register to "buy" the food! Lots of FREE FUN!

I am NOT LIABLE for any plans posted here...use your own discretion with kids and glue, sharp edges, and things that may go in their mouths!
***I am NOT LIABLE for any plans featured here. Please take every precaution and use your own discretion to make sure these toys are safe for children to play with them.
Thank you for the great idea! I'm building a play kitchen for my daughter for Christmas (from Ana's plans) and have been trying to figure out what to fill it with. I, too, refuse to pay the prices for wooden play food though I've lucked out at thrift stores ($1 for the M&D pizza party set!), and she's gotten some sets as gifts.
ReplyDeleteI'm also thinking of taking empty plastic jars (peanut butter, Nutella, applesauce, etc) and painting the inside the proper color, then gluing the lid back on. Now I'm SO excited to get home from vacation and get started. :)
Michelle -
ReplyDeleteI'm SO GLAD that you can use the idea for your own daughter! My daughter STILL enjoys playing with hers, ranging from "grocery store" to "mommy makes dinner" to "restaurant"! I hope that your daughter has the same amount of fun with her cans that we've had over here!! :)
Kristi
If you use a safety can opener - the one that removes the top as a lid with no sharp edges - you could even glue it back on after it's all washed up and not worry about any poky metal.
ReplyDeleteCould you open the can upside down w8th the same effect?
ReplyDeleteYes, of course!! :)
DeleteThe only reason that I wrote the directions this particular way was because most people don't open a can from the bottom as they are cooking UNLESS they are thinking ahead and planning to make something from the can! HA!
Also, you may still want to remove the label (whether you open the can from the top OR the bottom) to allow you to CLEAN the can really well AND to also add mod podge glue UNDERNEATH the label (not doing so will create bubbles as it dries and will eventually cause the label to peel off). Either end of the can will do! :)
I hope that you have fun with this project....4 years later, and my daughters STILL play with theirs!
Enjoy.... Kristi